A Step-By-Step Guide To Hand Casting

Hand casting is a personalised and intimate art form that captures the intricate details of your and/or a loved one's hand. It's a beautiful way to preserve a moment in time. With a hand-casting kit, you can create this one-of-a-kind keepsake right at home. Whether you're a seasoned artist or a complete novice, this step-by-step guide will walk you through the process of hand casting.
First things first, you'll need a hand cast kit. These kits typically include everything you need to create your cast, including a bucket, moulding/alginate powder, casting powder, sandpaper, metal detailing stick, detailed instructions and/or a pair of gloves.
While some kits, like a couples hand casting kit, are designed specifically for two people - making them a perfect gift for anniversaries or special occasions. Some kits are made for 2+ hands or families.
Before you start, it's essential to read the instructions that come with your hand moulding kit thoroughly. Each kit may have slightly different instructions, so it's important that you familiarise yourself with the process before diving in.
Step 1
The first step in hand casting is to prepare the moulding mixture. This usually involves mixing the moulding powder with a specific ratio of water in the bucket provided. Try to make the mixture as smooth as possible. There might be a few lumps left, do not stress about it. Make sure to give the bucket a good shake to get rid of any air bubbles.

Step 2
Once you pour the mixture into the bucket, it's time to immerse your hand or hands into the mixture. If you're using a couples hand casting kit, both of you will need to place your hands into the mixture together. Make sure to remove any bulky jewellery or accessories ( bracelets/watches) before placing your hands in. There are some instances when you can make a cast with your jewellery on. To know more, please refer to our FAQs.
Patience is key during this step. You'll need to keep your hand or hands still in the mixture until it sets. This can take anywhere from a few minutes to half an hour, depending on the specific moulding kit you're using. Pasignia kits take 5 minutes; when you see the colour of the mould change from pink to grey, it indicates that the mould has set. Once the mould is set, gently wiggle your fingers and hands to remove your hand or hands and leave behind a detailed impression.

Step 3
Next, it's time to prepare the casting stone. You'll need to mix the casting powder with water, following the instructions provided in your kit. Make sure to get rid of any lumps and air bubbles before pouring the mix into the mould. Once the casting stone mixture is ready, pour it into the mould and gently tap the side of the bucket to help it settle in the mould. Now it’s time to wait. Allow the mixture to set completely, this can take several hours.

Step 4
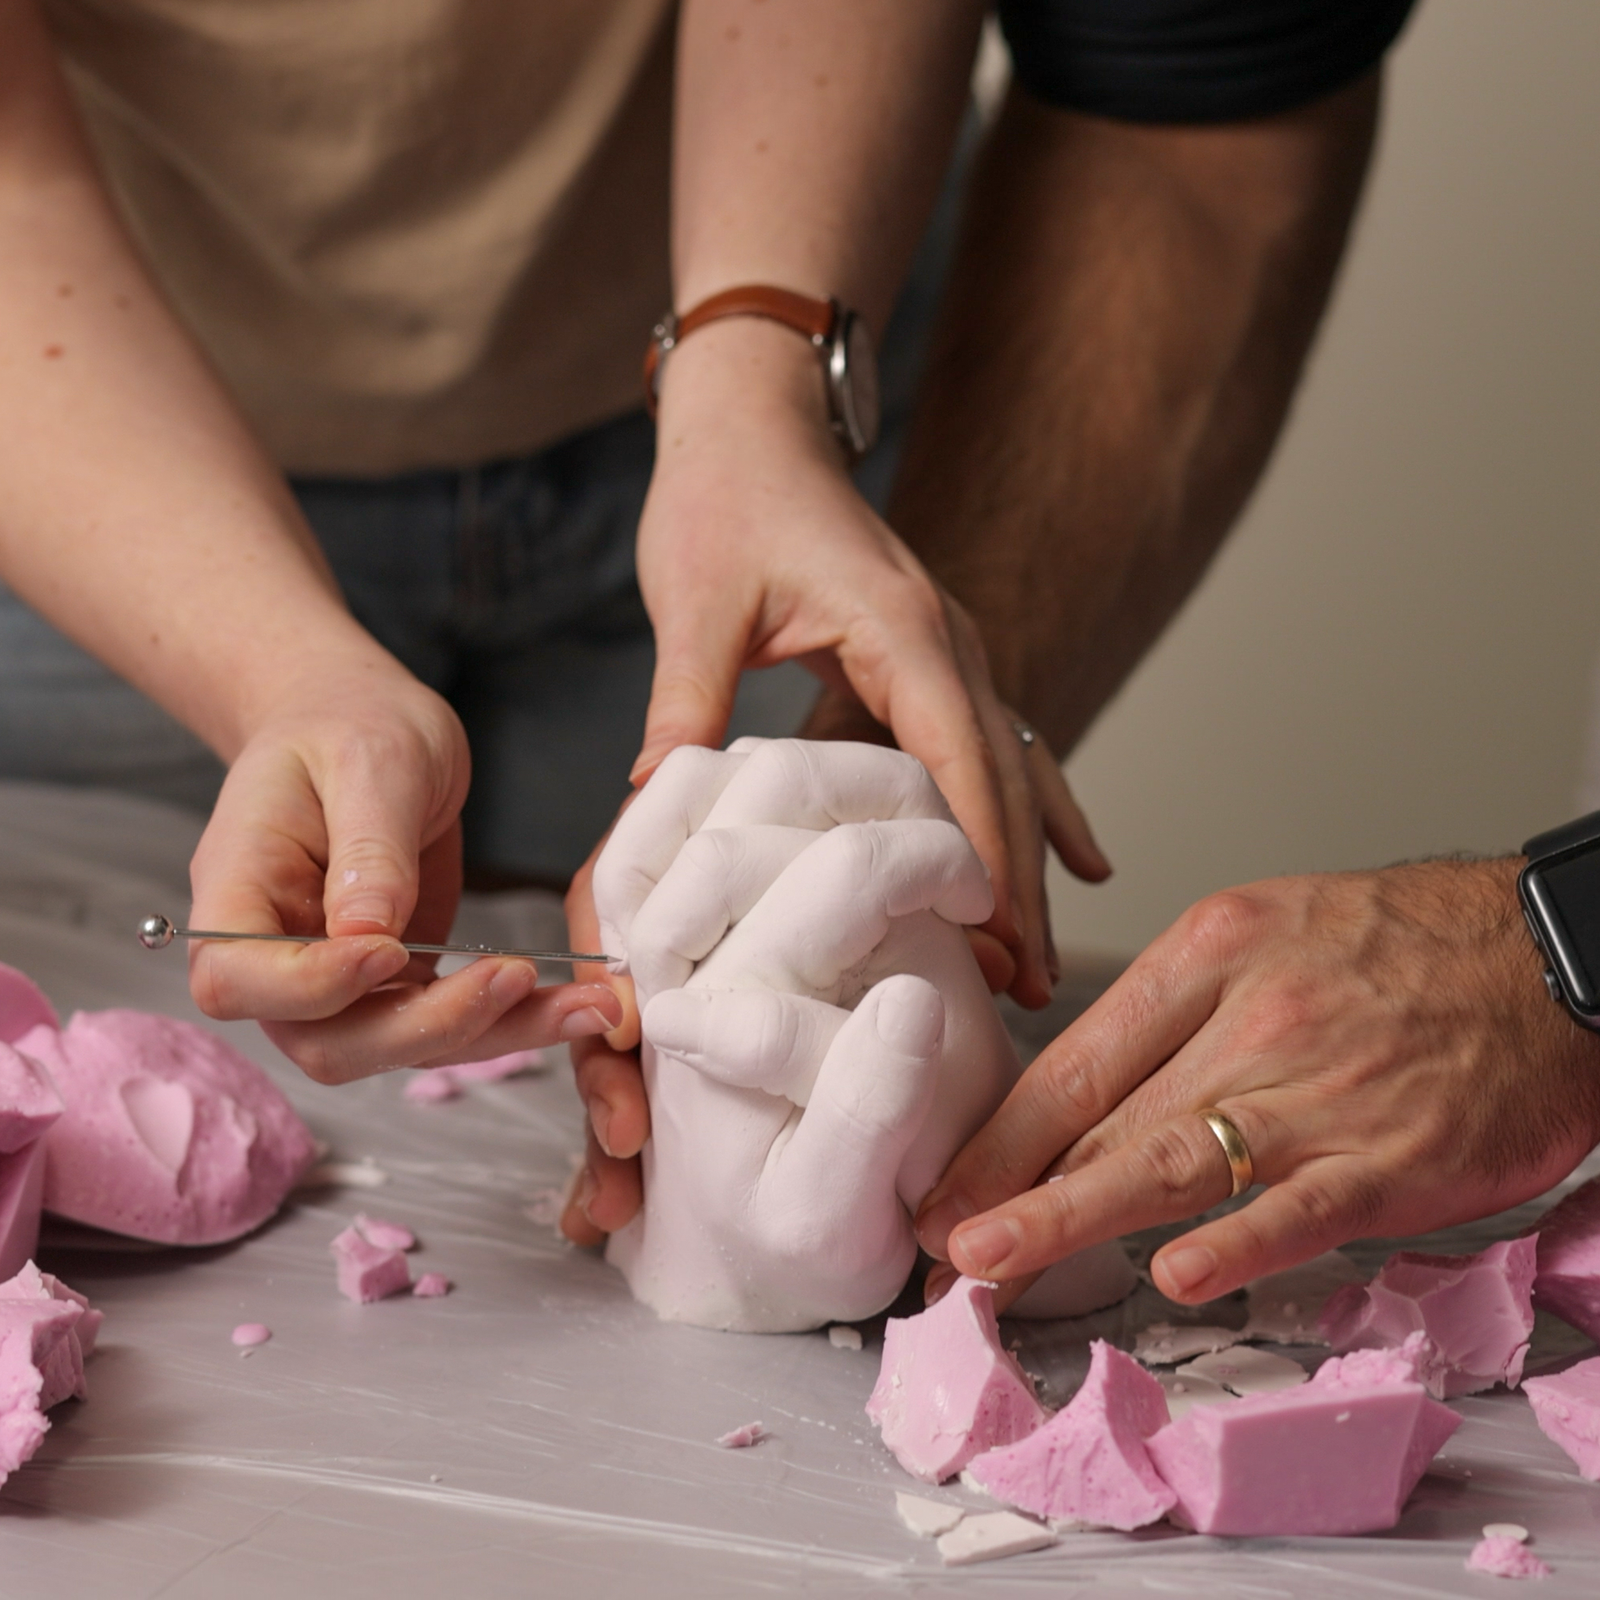
Once the casting stone has been set, it's time for the big reveal. Invert the bucket and gently apply pressure on the sides to release the mould. Carefully peel off the alginate mould (in small chunks) to reveal your hand cast. Your hand cast might have some rough edges at this stage, but don't worry. Once the hand cast has dried completely, you can smoothen the lines using sandpaper and accent the details using the metal detailing stick provided in the kit.

Remember, practice makes perfect. It's okay if your first attempt doesn't turn out exactly as you'd hoped. With a bit of patience and practice, you'll soon be creating hand casts like a pro.


